Parametric CAD where the model is JavaScript. Sketch, extrude, constrain and assemble with the mouse or in code -- both edit the same file.
Download · Getting Started · Tutorials · Guides
FluidCAD is under active development. APIs and features may change as the project evolves.
I'm not accepting pull requests just yet -- I'm still finalizing the design and putting together a roadmap. Once I hit v0.1.0, I'd love to have contributions from the community. Stay tuned!
FluidCAD ships as a desktop app for Windows, Linux and macOS. Every build is on the latest GitHub release; the app then updates itself from there in the background.
| Platform | Download | Notes |
|---|---|---|
| Windows (x64) | FluidCAD-<version>-win-x64.exe |
Not code-signed yet: SmartScreen shows Windows protected your PC on first launch. Choose More info → Run anyway. |
| Linux (x64) | FluidCAD-<version>-linux-x86_64.AppImage or FluidCAD-<version>-linux-amd64.deb |
AppImage: chmod +x and run. Deb: sudo apt install ./FluidCAD-*.deb. |
| macOS (Apple Silicon) | FluidCAD-<version>-mac-arm64.dmg or .zip |
Signed and notarized; drag into Applications. |
Prefer a terminal and your own browser? FluidCAD is also an npm package -- see Getting Started below.
FluidCAD is built on OpenCascade, a full B-Rep (boundary representation) modeling kernel, through the opencascade.js WebAssembly binding. This means precise, production-grade geometry -- exact edges, fillets, and booleans -- not mesh approximations.
A huge thanks to the opencascade.js team for making this possible.
Design parametric 3D models using JavaScript. Every change in your code is reflected instantly in the 3D viewport.
import { extrude, fillet, sketch, circle } from 'fluidcad/core';

sketch("xy", () => {
    circle(50)
})

const e = extrude(50)

fillet(5, e.startEdges())Prefer clicking? Pick geometry in the viewport, fill in a dialog, and FluidCAD writes the statement into your file -- sketches, extrude, revolve, sweep, loft, shell, fillet, chamfer, repeat, booleans and more. Double-click a timeline row to reopen the same dialog and edit that feature in place.
It's a companion to the code, not a replacement: everything it produces is ordinary FluidCAD code you can keep editing by hand.

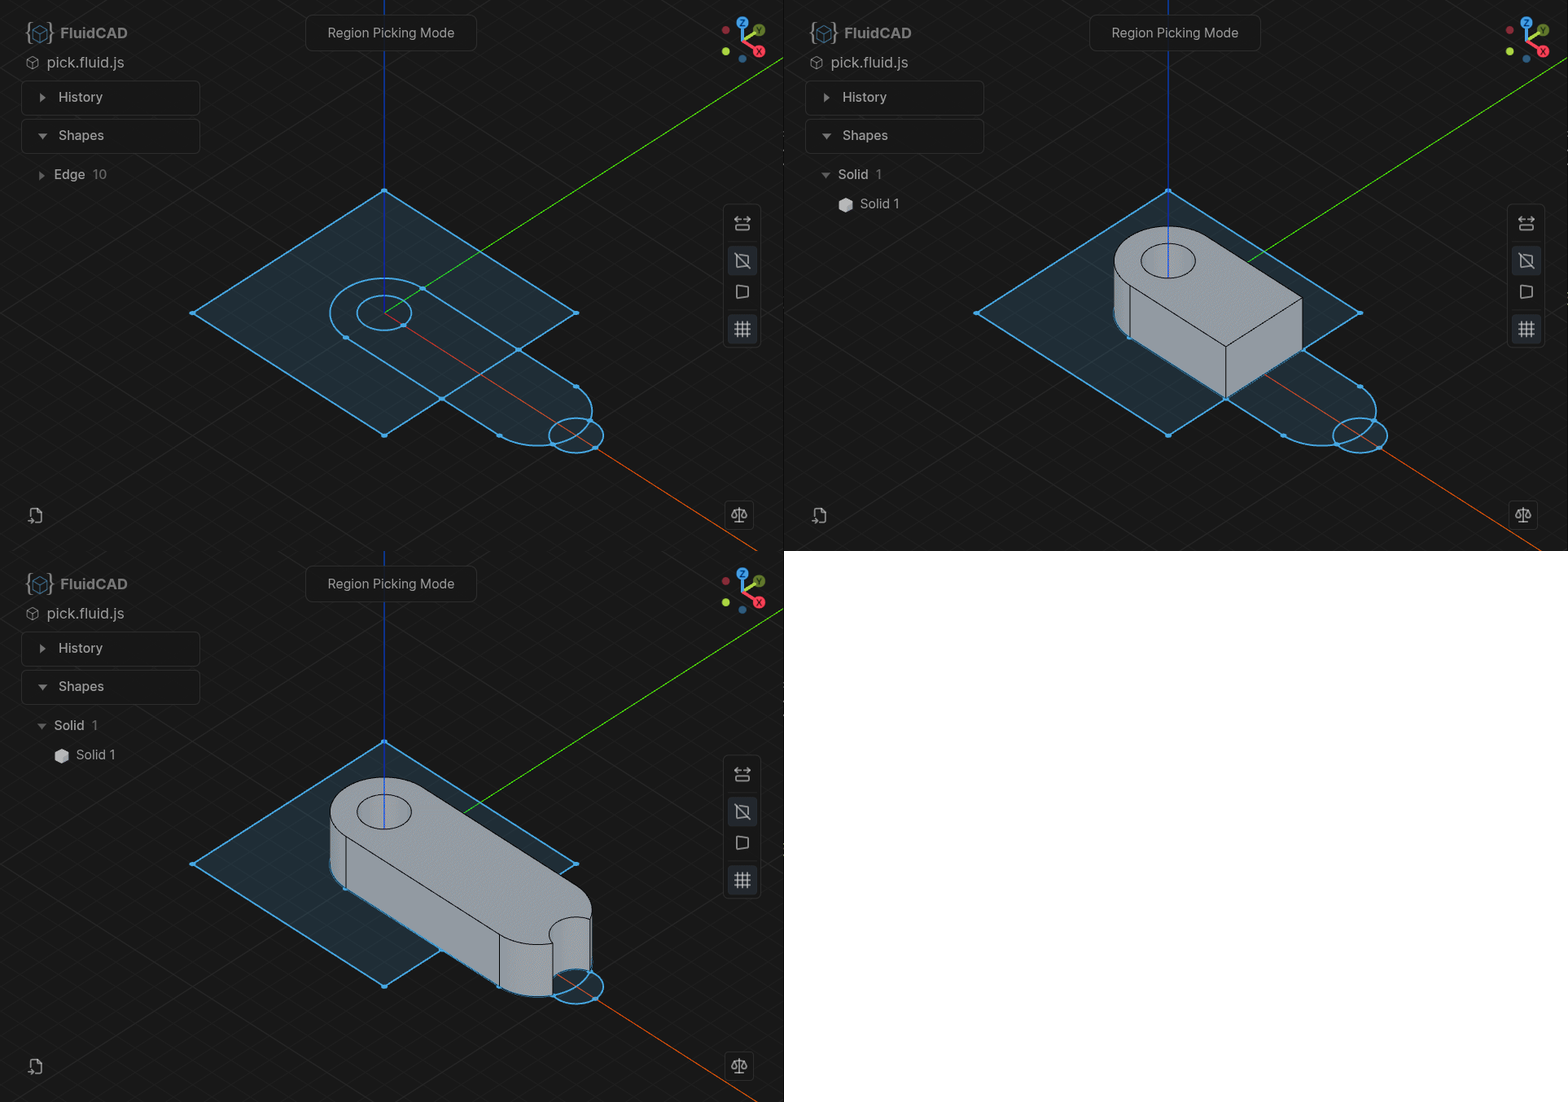
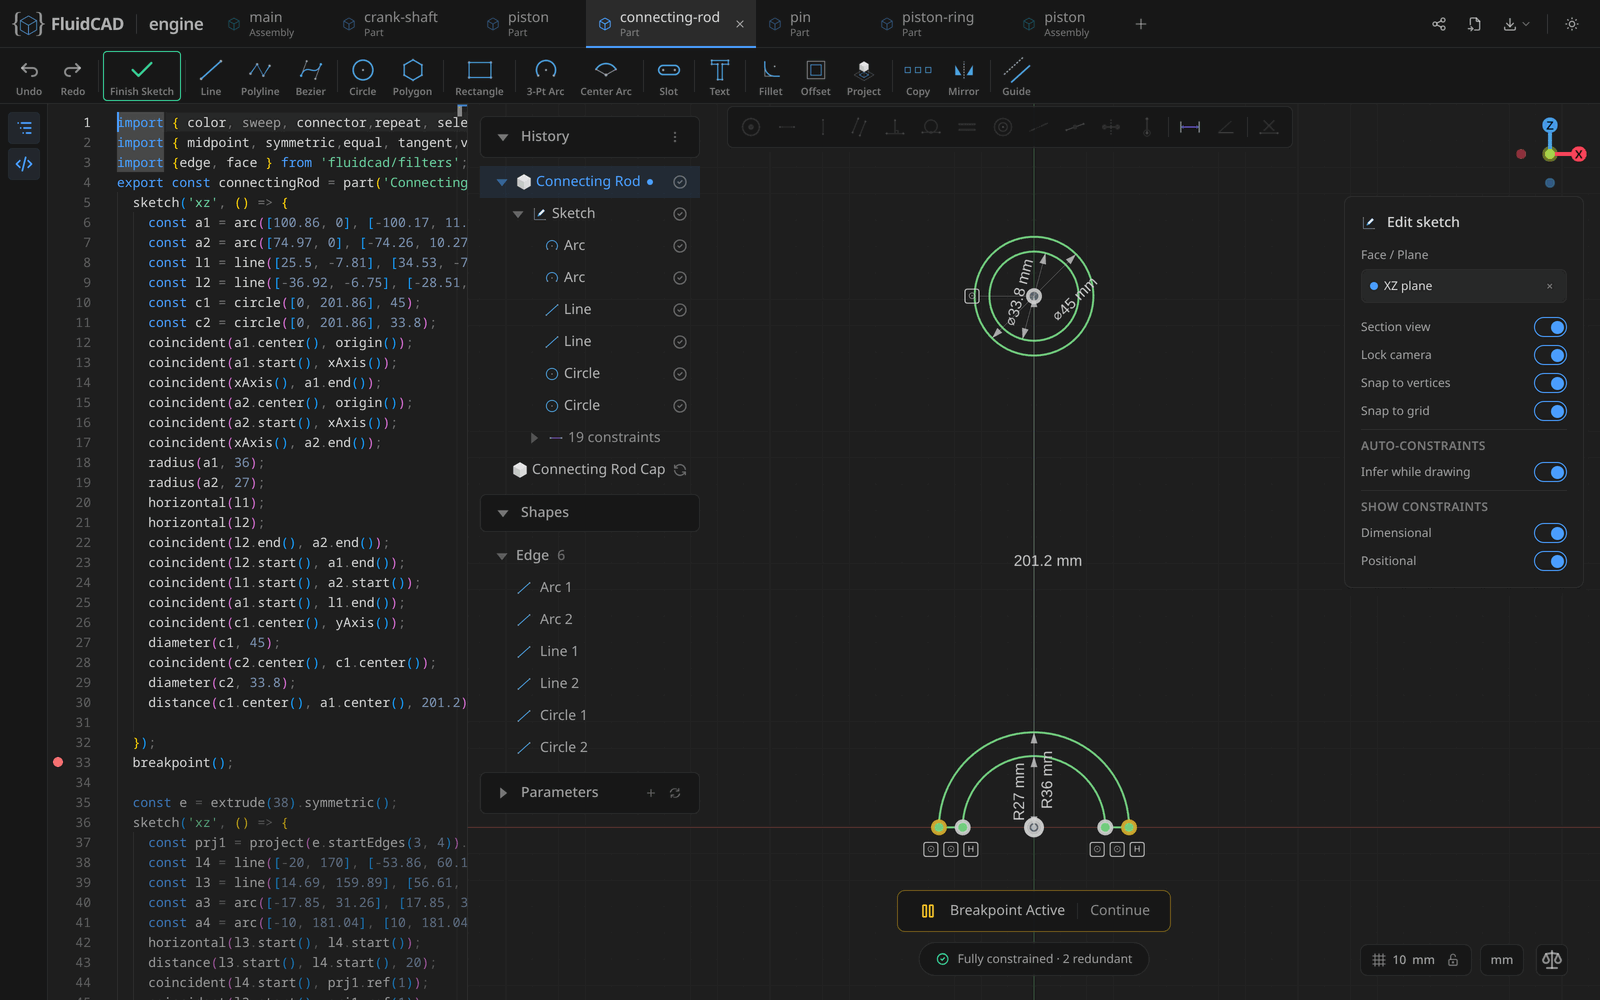
Sketches work the way they do in mainstream CAD: the geometry you draw is a rough guess, and constraints state what must be true. A solver moves the geometry until every relationship holds, re-solving live while you drag. Fourteen constraints -- coincident, horizontal, vertical, parallel, perpendicular, tangent, equal, concentric, collinear, midpoint, symmetric, fix, dimension, angle -- each with a toolbar button, a keyboard shortcut and a badge in the viewport. The status pill tells you when the sketch is fully constrained.
import { sketch, line } from 'fluidcad/core';
import { coincident, horizontal, vertical, fix, distance } from 'fluidcad/constraints';

sketch("xy", () => {
    // Rough guesses -- the constraints do the work.
    const b = line([1, -2], [99, 3]);
    const r = line([99, 3], [101, 52]);
    const t = line([101, 52], [-2, 48]);
    const l = line([-2, 48], [1, -2]);
    coincident(b.end(), r.start());
    coincident(r.end(), t.start());
    coincident(t.end(), l.start());
    coincident(l.end(), b.start());
    horizontal(b);
    vertical(r);
    horizontal(t);
    vertical(l);
    fix(b.start(), [0, 0]);
    distance(b.start(), b.end(), 100);
    distance(r.start(), r.end(), 50);
})
Drawing tools infer constraints as you go (snapping onto a vertex writes coincident, a near-horizontal line writes horizontal), and the Rectangle, Polygon and Slot tools write their shape's constraints along with the lines and arcs, so every side stays editable afterwards. Projected edges from existing solids become fixed reference geometry you can constrain against.
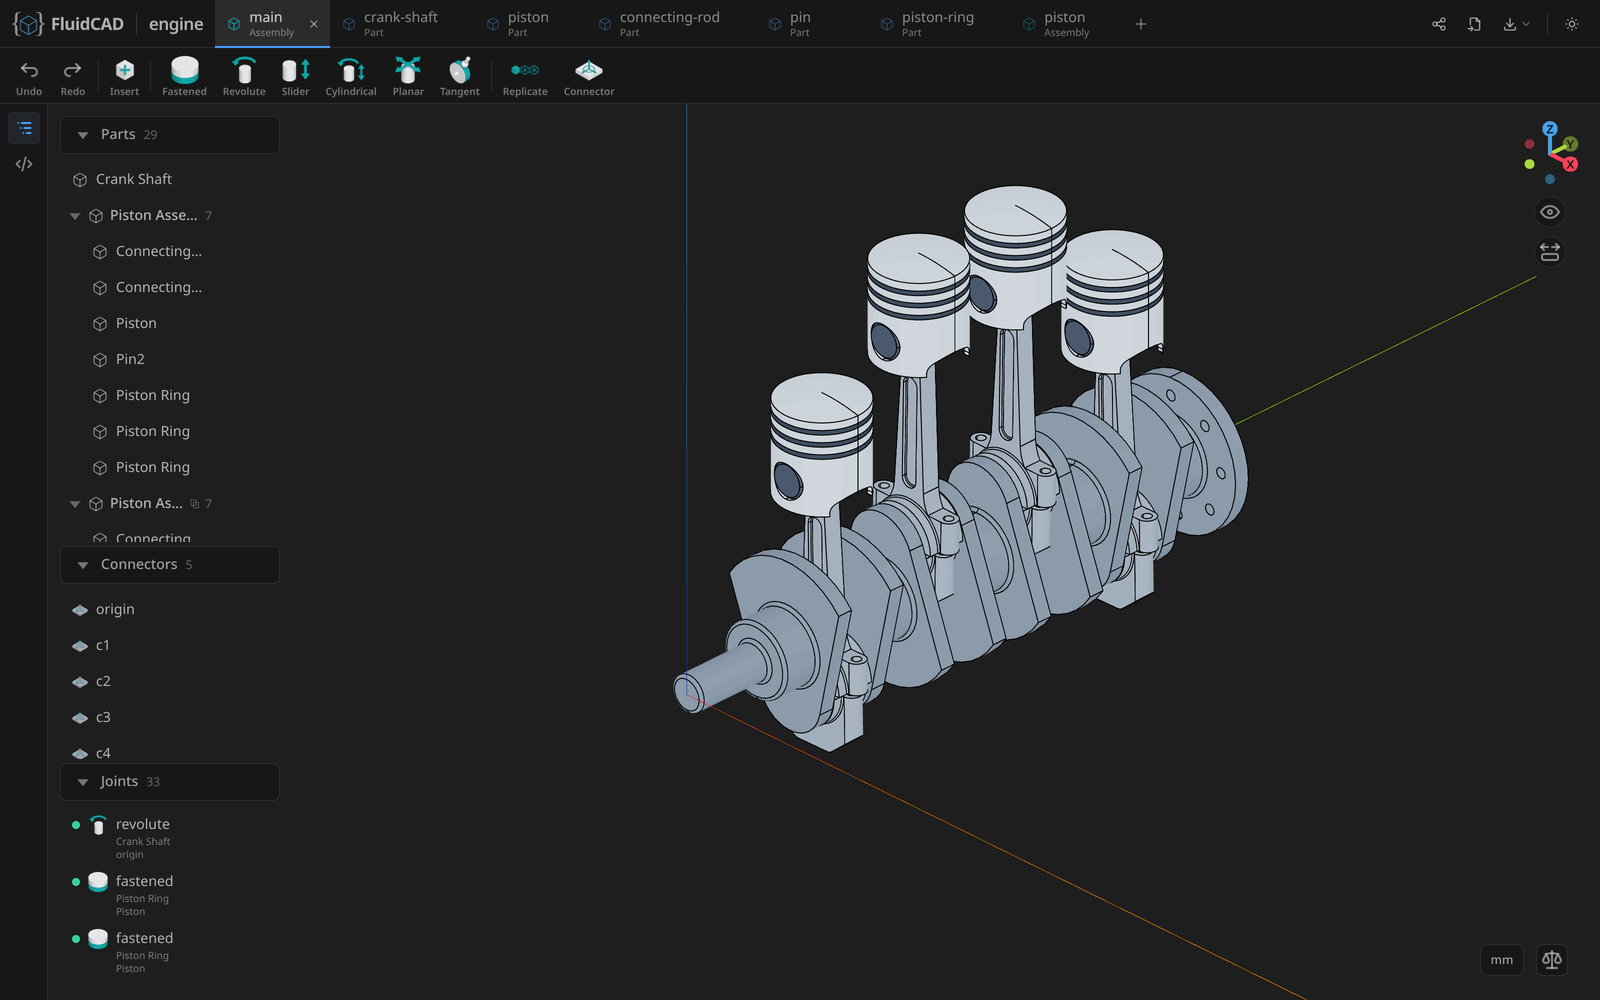
An .assembly.js file inserts parts, grounds one of them and joins the rest with mates. The viewport solves the mates live: drag a part and the mechanism moves within the freedom its joints leave.
import { assembly, insert, mate } from 'fluidcad/core';
import { plate } from './plate.part.js';
import { lever } from './lever.part.js';
import { pin } from './pin.part.js';

export const leverAssembly = assembly('lever-assembly', () => {
    const base = insert(plate).grounded();
    const arm = insert(lever);
    const pivotPin = insert(pin);

    // A hinge: the lever swings about the plate's bore, 30° at rest, ±45° of travel.
    mate('revolute', base.connectors.bore, arm.connectors.pivot).rotate(30).limits(-45, 45);
    // The pin rides along with the lever.
    mate('fastened', arm.connectors.pinSeat, pivotPin.connectors.head);
});- Six mate types: fastened, revolute, slider, cylindrical, planar and tangent, with flip, rotate, offset and limits.
- Connectors are the mating frames: hover a face or edge on a part and the Connector tool writes
connector('name', …); assemblies can add free frames of their own. - Sub-assemblies are
assembly()definitions you insert like parts;replicate()stamps a mated sub-assembly onto more targets (the engine above is one piston sub-assembly and three replicas). - Parametric parts:
param()declares a value with a control in the Parameters panel, andinsert(part, { Width: 120 })overrides it per instance. - Animate a revolute or slider joint from its row in the Joints panel, and export the whole assembly as STEP (tree preserved) or STL.
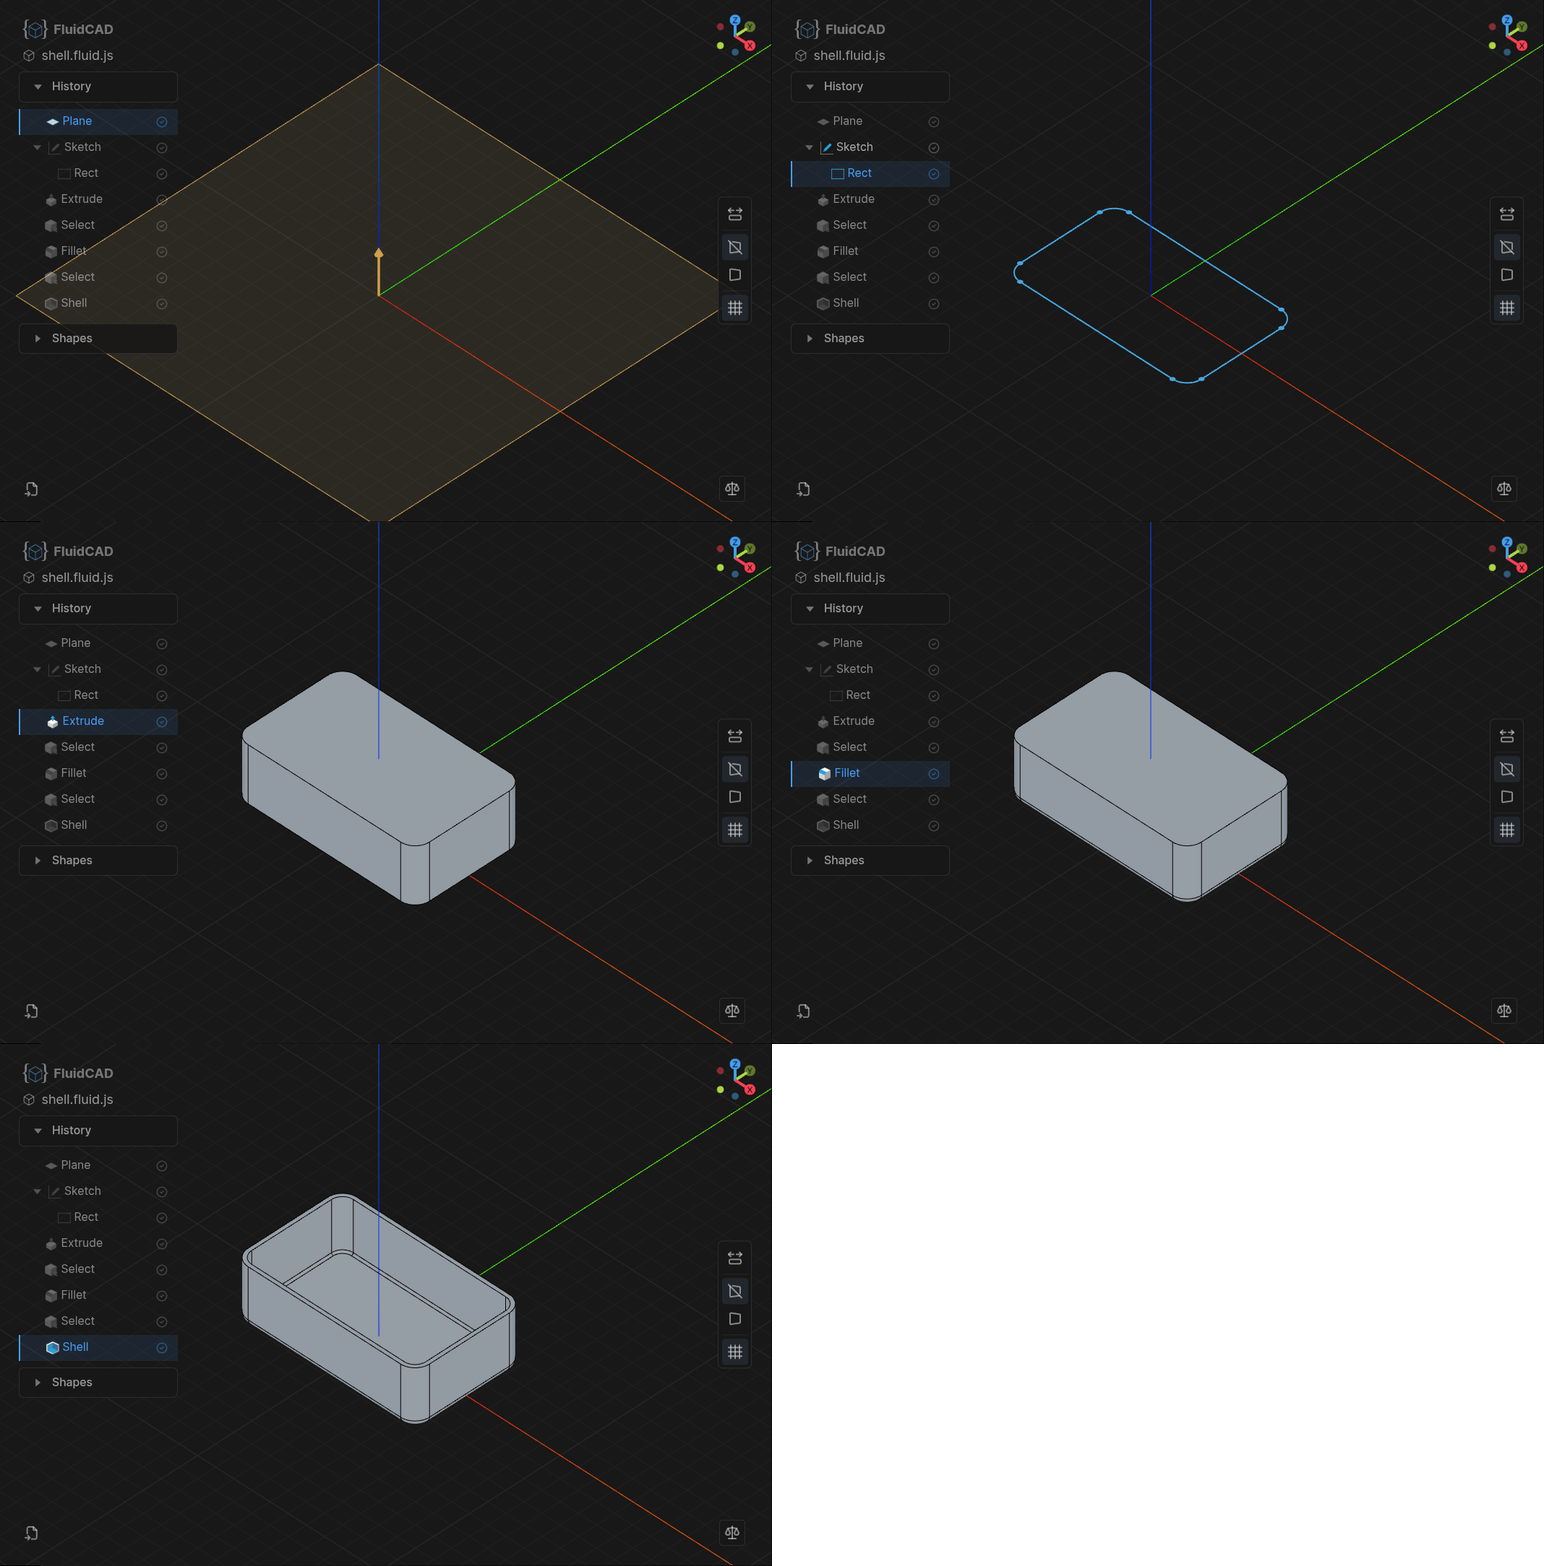
Navigate through your modeling history step by step. Review how any model was built and roll back to any point in the feature tree.
Re-apply modeling features based on matrix transformations. Move, rotate, or mirror entire feature sequences to build complex geometry from simple building blocks.
sketch("xy", () => {
    rect(200, 100).centered()
})

const e1 = extrude(20)

sketch(e1.endFaces(), () => {
    circle([-80, 30], 30)
});

const pin = extrude(10)

const f = chamfer(2, pin.endEdges());

repeat("linear", ["x", "y"], {
    count: [4, 2],
    length: [160, -60]
}, pin, f)
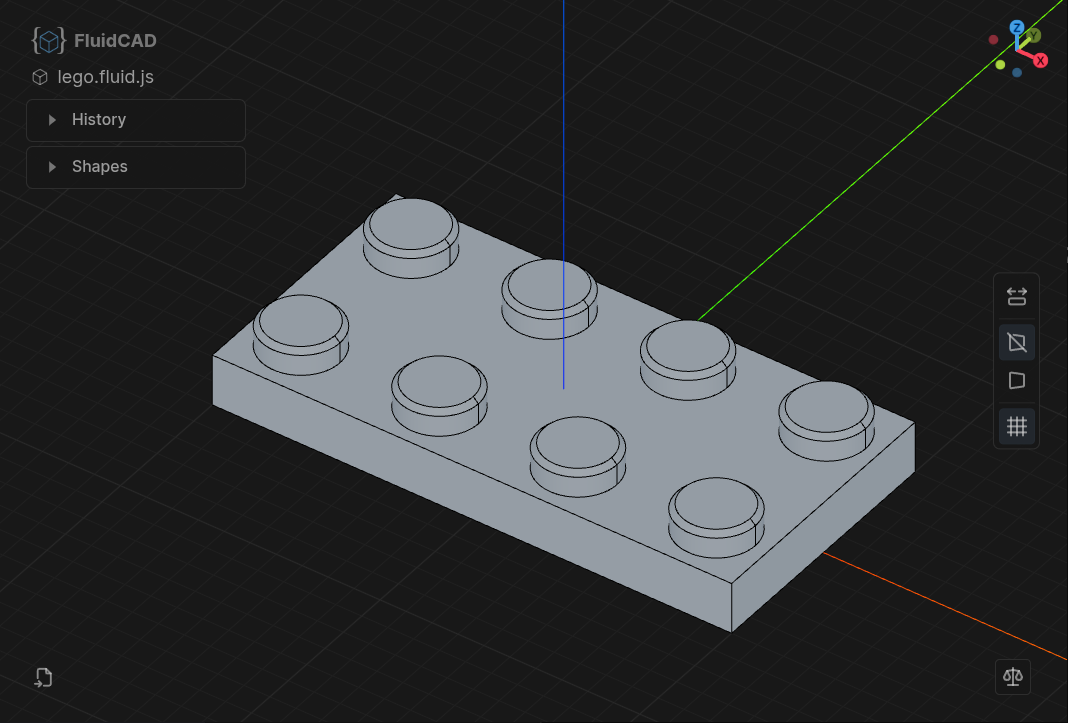
Duplicate features in linear, circular or mirror patterns to quickly populate repetitive geometry -- repeat() re-applies a feature so it interacts with the solid at each new spot, copy() produces independent solids.
Most operations just do the right thing without extra arguments. extrude picks up the last sketch, fillet targets the last selection, and touching shapes are automatically fused -- less boilerplate, more readable code.
Picking faces and edges in the viewport writes a filter expression, not a list of indices: face().planar().onPlane('xy', 10), e.endEdges(), r.instance(1).endEdges(). Filters compose by plane, shape, rank (largest, nearest, nth), convexity and feature of origin, so a fillet keeps finding its edges after the model above it changes.
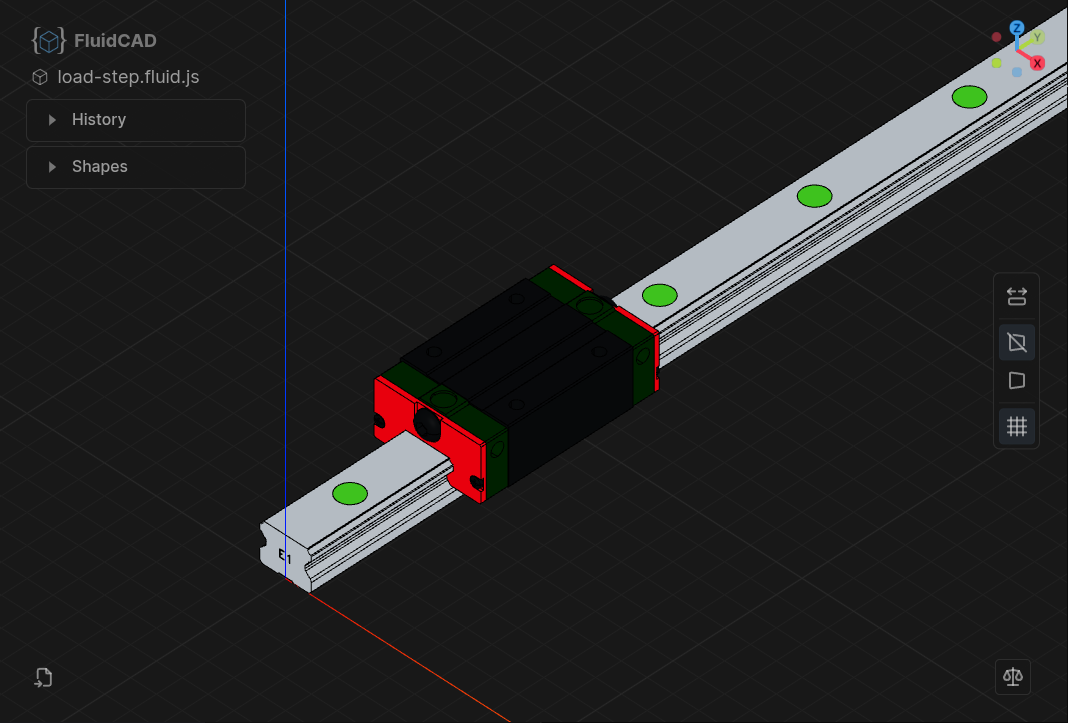
Import and export STEP files with full color support. Bring in existing CAD models or share your designs with any standard CAD tool. Assemblies export as a STEP tree, one product per part and one component per instance.
The desktop app and npx fluidcad serve both come with a built-in code editor. FluidCAD also ships official extensions for VS Code and Neovim, and works with any editor -- just point the CLI at your project.
FluidCAD ships an MCP server so AI agents (Claude Code, Claude Desktop, Cursor, opencode, etc.) can drive a running workspace -- take screenshots, inspect geometry, edit model files, and look up the API by symbol. See Set Up the MCP Server below.
Step-by-step tutorials from simple shapes to exam-level parts. Browse all tutorials →
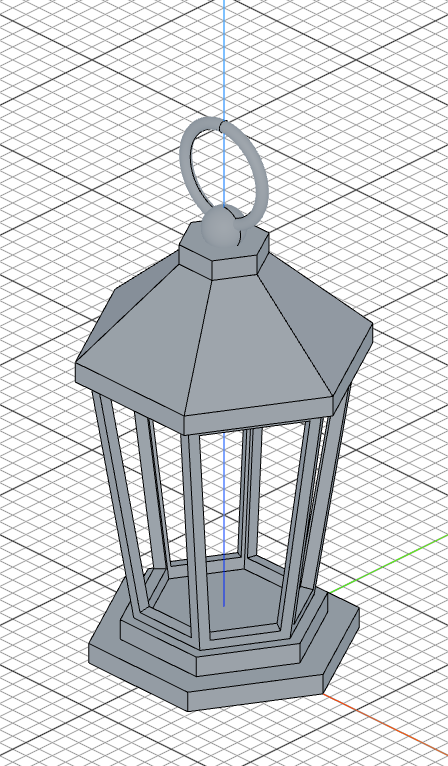 Lantern |
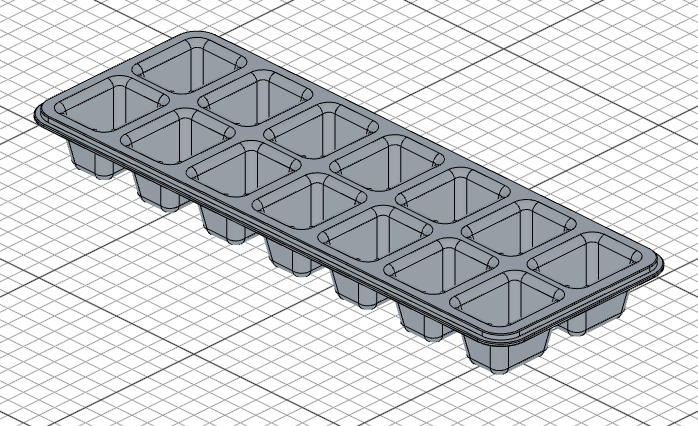 Ice Cube Tray |
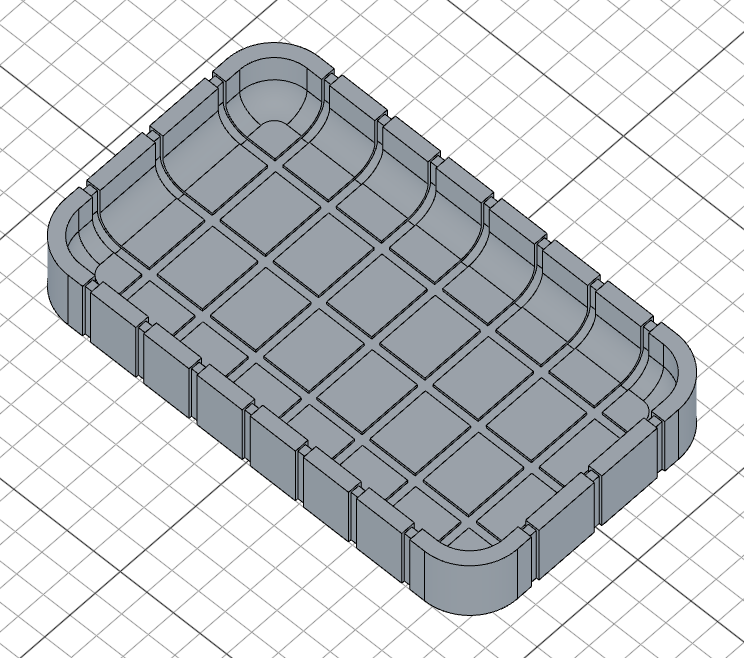 Grooved Box |
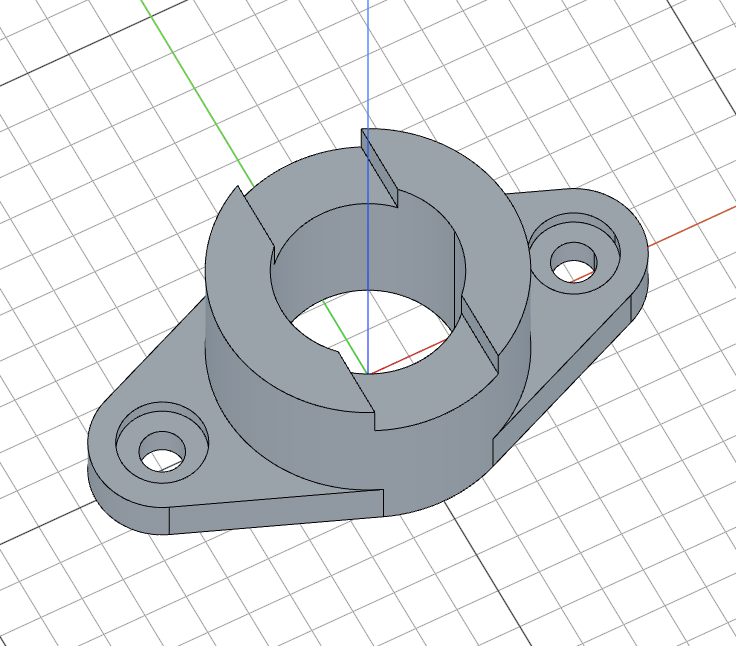 Flange With Notch |
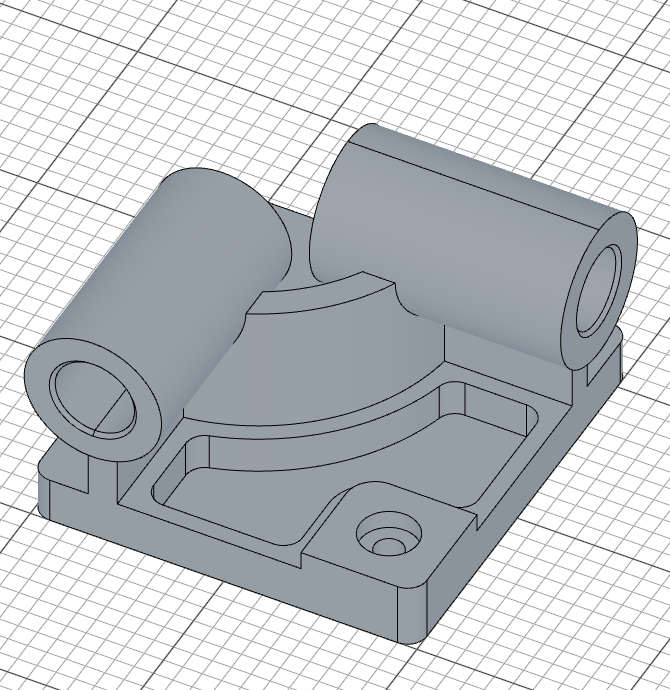 CSWP Sample Exam |
 Hinge Bracket |
The quickest route is the desktop app: install it, open a folder, and start modeling. The steps below are for running FluidCAD from a Node.js project in your browser.
mkdir my-app && cd my-app
npm init -y
npm install fluidcad
npx fluidcad init
This generates init.js, jsconfig.json, a fluidcad.json project configuration and a starter box.part.js.
FluidCAD recognizes two kinds of source file:
*.part.js— a part file. Code defines geometry; every edit rebuilds the model and updates the viewport.*.assembly.js— an assembly file. Code inserts parts and declares mates between them; the viewport solves the mechanism and lets you drag it.
*.fluid.js is also recognized as a part file.
npx fluidcad serveThat's the whole product in a browser tab: the 3D viewport, a code editor with completion driven by the engine's own type declarations, and a live rebuild on every change. Nothing else to install.
Options:
| Flag | Description | Default |
|---|---|---|
-w, --workspace <path> |
Path to your project | Current directory |
-p, --port <port> |
Server port -- if it's taken, the next free one is used | 3100 |
--no-open |
Don't launch a browser -- for CI and remote sessions | opens by default |
The code editor is hidden until you want it: open it from the left rail or with Ctrl+B, and it takes width from the left rather than covering the model.
Prefer to model with your own editor open beside the viewport? Both extensions drive the same server.
VS Code
- Install the FluidCAD extension from the VS Code Marketplace.
- Open your project folder in VS Code.
- Open the Command Palette (
Ctrl+Shift+P/Cmd+Shift+P) and run Show FluidCAD Scene.
The 3D viewport opens in a side panel and updates live as you edit .part.js and .assembly.js files.
Neovim
Add the plugin with lazy.nvim:
{
  "Fluid-CAD/FluidCAD",
  config = function()
    require("fluidcad").setup()
  end,
  ft = { "javascript" },
}
Open a .part.js file and the server starts automatically. Run :FluidCadOpenBrowser to open the 3D viewport in your browser.
See the full list of commands in the Neovim plugin README.
Any Other Editor
npx fluidcad serve (above) works alongside any editor: keep the browser tab
open on the viewport and edit your model files in your own editor -- the model
rebuilds on save.
FluidCAD bundles an MCP server so LLM agents can drive your workspace -- screenshots, geometry inspection, source edits, API lookup. It's included in the fluidcad package; no separate install needed.
Wire it into your MCP client:
Claude Code
Register at user scope so it's available in every project:
claude mcp add --scope user FluidCAD -- npx -y fluidcad mcpClaude Desktop / Cursor
Add to claude_desktop_config.json or ~/.cursor/mcp.json:
{
  "mcpServers": {
    "FluidCAD": {
      "command": "npx",
      "args": ["-y", "fluidcad", "mcp"]
    }
  }
}
opencode
Run opencode mcp add and answer the prompts, or add to ~/.config/opencode/opencode.json:
{
  "$schema": "https://opencode.ai/config.json",
  "mcp": {
    "FluidCAD": {
      "type": "local",
      "command": ["npx", "-y", "fluidcad", "mcp"],
      "enabled": true
    }
  }
}
Then install the companion skill so agents follow the FluidCAD workflow:
npx skills add Fluid-CAD/FluidCADSee the MCP README for the full tool surface, transport details, and local-testing guide.
Turn a model into a STEP, STL, or PNG without leaving the terminal:
npx fluidcad export step                     # every shape -> <entry>.step
npx fluidcad export stl --resolution fine
npx fluidcad export png --view front --open
If a FluidCAD server is already running for the project (started by serve or an editor extension), the CLI exports the scene that server is showing. Otherwise it starts one, renders your model, exports, and shuts it down again.
Options (all three formats):
| Flag | Description | Default |
|---|---|---|
-w, --workspace <path> |
Path to your project | Current directory |
-e, --entry <file> |
Which model file to render | The workspace's only one |
-o, --out <path> |
Output file | <entry>.<ext> in the current directory |
-p, --port <port> |
Export from the running server on this port | Auto-discovered |
--timeout <sec> |
Seconds to wait for the server (and, for png, for a browser) |
60 |
step and stl add --shapes (a subset, by position, feature name, or id) and --list-shapes; on a *.assembly.js entry they write the whole assembly by default (STEP keeps the assembly tree, STL flattens it). step adds --no-colors. stl adds --resolution coarse|medium|fine|custom plus --linear-deflection <mm> / --angular-deflection <deg>. png adds --view, --width, --height, --transparent, --show-axes, --no-grid, --no-auto-crop, --no-fit, --margin, and --open.
PNG needs a browser. Screenshots are rendered by the FluidCAD viewport itself, so a browser has to be connected to the server. Pass
--openand the CLI launches one for you.
Run npx fluidcad export step --help (or stl / png) for the full flag reference.
MIT